


wx.getMenuButtonBoundingClientRect文档
获取菜单按钮(右上角胶囊按钮)的布局位置信息。坐标信息以屏幕左上角为原点。
  /**
   * 生命周期函数--监听页面加载
   */
  onLoad(options) {
    const menuButtonInfo = wx.getMenuButtonBoundingClientRect();
    ...
  }
这里的 menuButtonInfo 输出结果
{"width":87,"height":32,"left":281,"top":24,"right":368,"bottom":56}

【注意这些单位都是px】
然后你就可以自定义上面的状态栏!胶囊区域了!
我自己的习惯是单独定义状态栏的样式和单独定义胶囊区域的样式!!这样分得清楚一点 🤣
  onLoad(options) {
    const menuButtonInfo = wx.getMenuButtonBoundingClientRect();
    const { top, height } = menuButtonInfo
    const topBarHeight = top // 用来放原本应该的状态栏的高度
    const customNavAreaHeight = height // 用来放原本应该的状态栏的高度
    this.setData({
      topBarHeight, customNavAreaHeight
    })
  },
<!-- 适配状态栏 -->
<view class="status" style="height: {{topBarHeight}}px"></view>

<!-- 胶囊区域 -->
<view class="customArea" style="height: {{customNavAreaHeight}}px;">
   <text>任务中心</text>
</view>

<!--其他.. 页面内容 ..-->
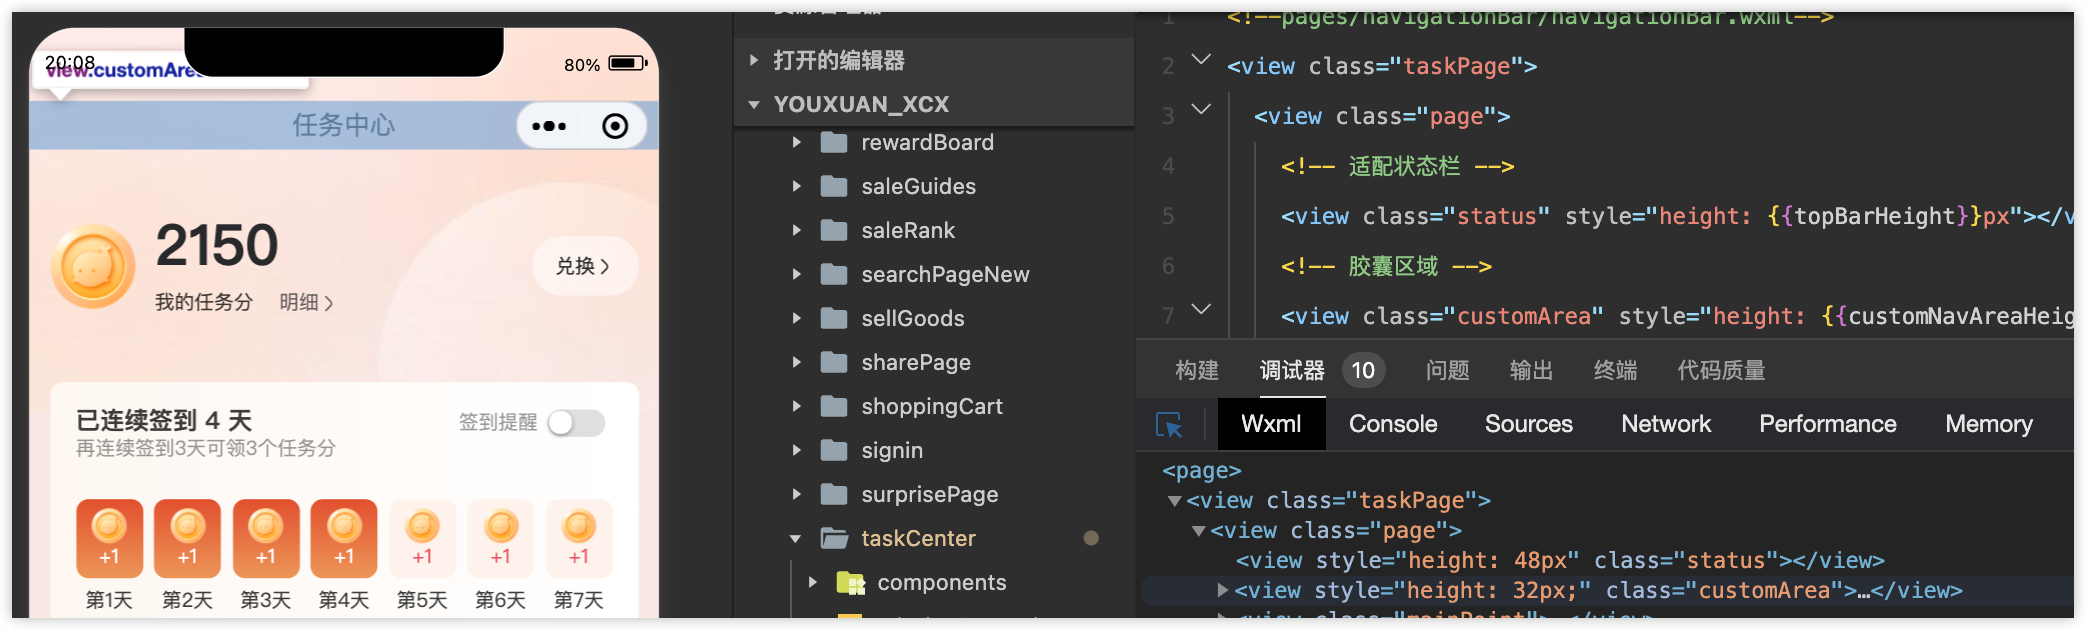

可以看到在不同尺寸设备的兼容性上也是OK的!
评论区